Support is provided to mark positions on the layout to be referred to programatically. For example, say a position on the screen is where an object should appear, a marker could be used, and manipulated on the layout editor. Another use case might be for setting the boundaries of a play area. Markers can then be accessed from within code to get their x and y co-ordinates.
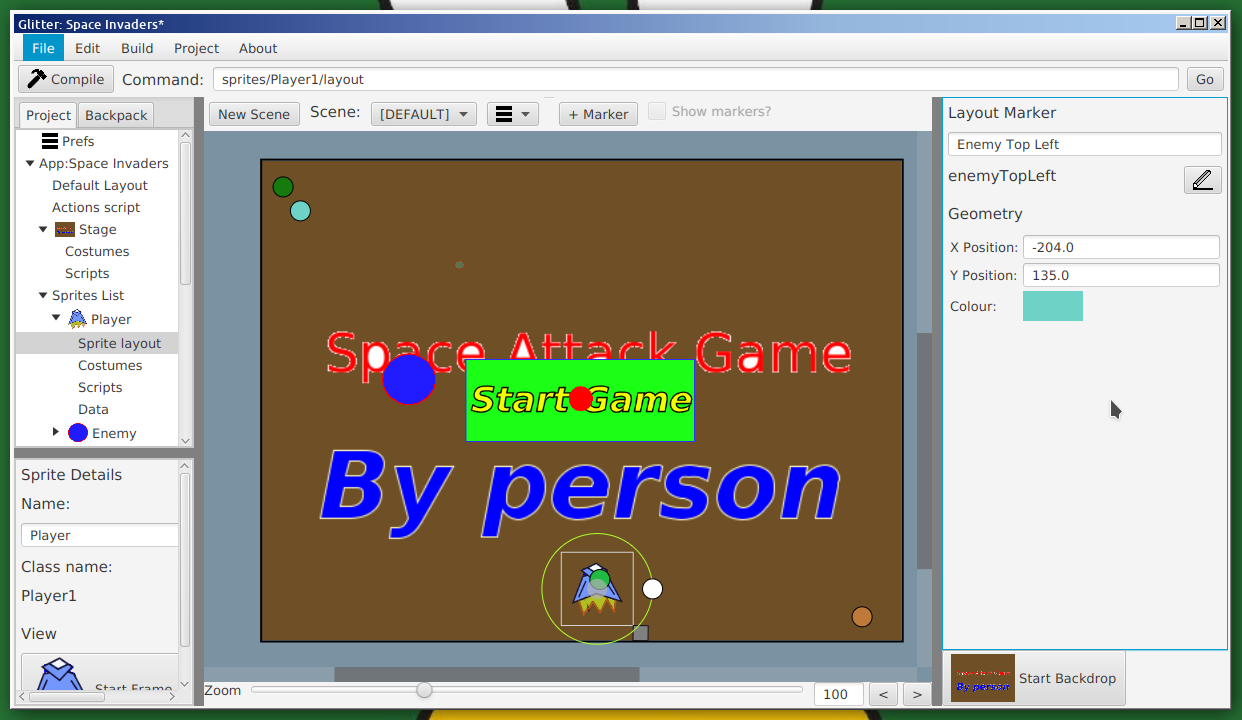
To create a marker, click to the "Default Layout" in the project tree. At the top of the layout editor is a button marked "+Marker". Click that and a marker (a circle of a random colour) will appear in the layout editor. This can be clicked on bringing up a list of options in the side inspector. For example:
In the above the a marker has been clicked on (the cyanish one), bringing up the information in the right side panel. From here, the description can be edited, and the specific variable name changed. The exact position can be entered in the x and y position text fields (or it the marker can be dragged by the user in the editor window), and its colour can be changed (the colour is only used to help aid identification by the developer).
Another way of adding a marker (and how to remove markers) is by clicking on "Layout Markers" in the project tree.
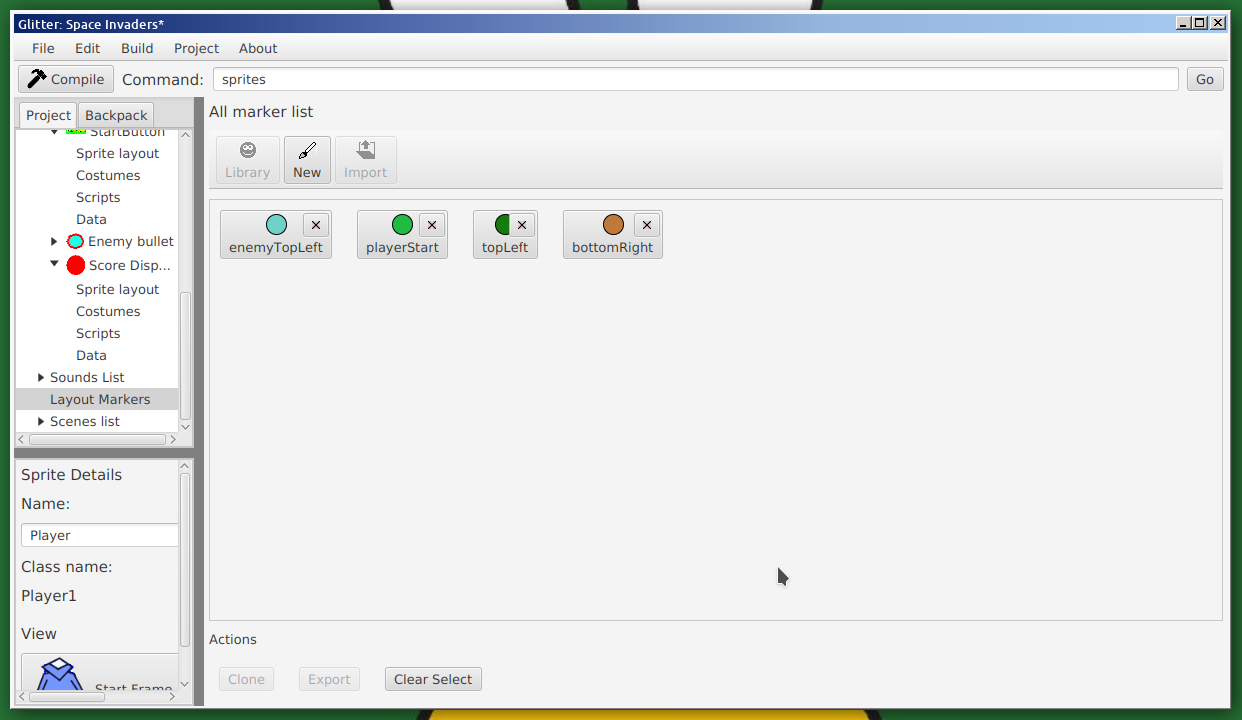
Clicking on Layout
Once a marker has been created it can be used in script code. This is done by accessing the global "marks" variable, and referencing the marker variable from that. So, if a marker variable is called "topLeft", the marker can be referenced by "marks.topLeft". The marker object currently has two fields, "x" (the x co-ordinate), and "y" (the y co-ordinate). This sounds complex, but is relatively simple. Given a marker "topLeft" the following is an example of use:
      flag {
		print("X position of marker:", marks.topLeft.x );
		print("Y position of marker:", marks.topLeft.y );
		goXY(marks.topLeft.x, marks.topLeft.y );
     }
As an alternative to using the identifier "marks", the marks variable can also be reference by the variable "m", so the previous code could be written:
      flag {
		print("X position of marker:", m.topLeft.x );
		print("Y position of marker:", m.topLeft.y );
		goXY(m.topLeft.x, m.topLeft.y );
     }
Future version of GlitterIDE will include commands to directly access markers, so for example, something similar to "goPoint(marks.topLeft)". Marks will also be draggable objects for use with the "no code" action and behaviour framework. Markers may also hold other information if that turns out to be useful.